

 Installation Tips & Tricks
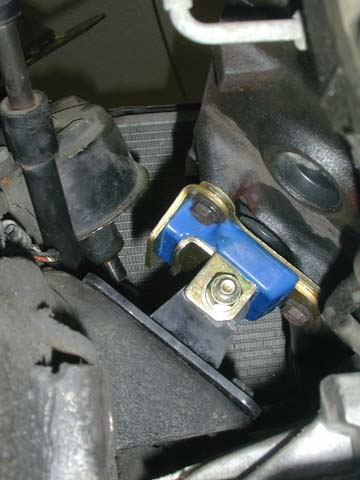
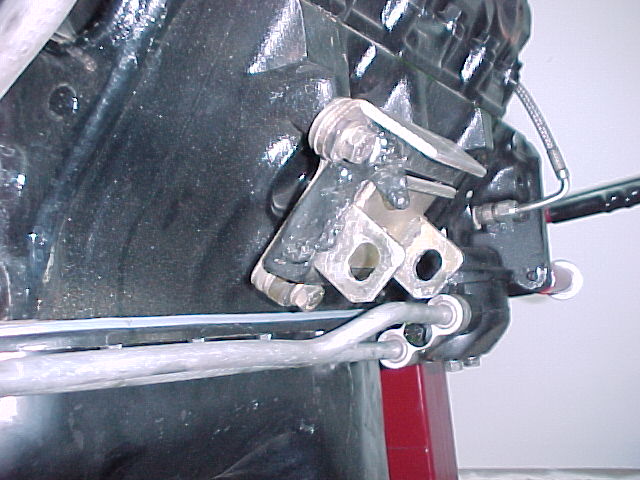
We successfully changed mounts in Todd's Blue Typhoon with the engine still in the truck. As you can see the heads, exhaust, intake, turbo, etc were all removed.
After doing it, we both felt it would be possible to change them with just exhaust, turbo, and wheel wells removed. Of course the best time is when engine is fully removed.
Here are the steps we did, and the order we felt would be best.
1. Remove above mentioned stuff (exhaust, wheel wells, turbo, etc.)
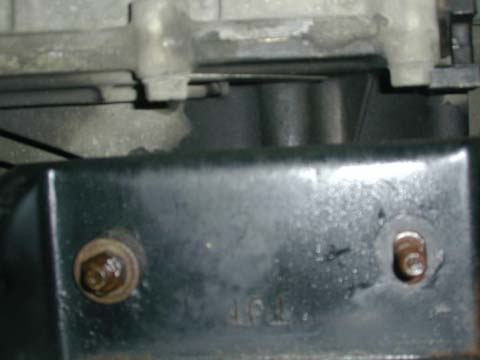
2. Remove the 2 main bolts that attach stock mount to frame mount.
3. Dig up some tools, we found very helpful a stubby short box wrench, racheting box end wrench, crows foot, 3/8 rachet and extensions. All 15mm.
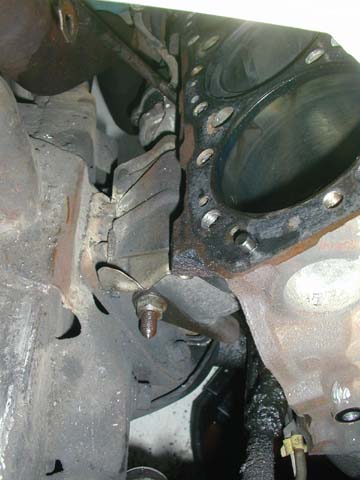
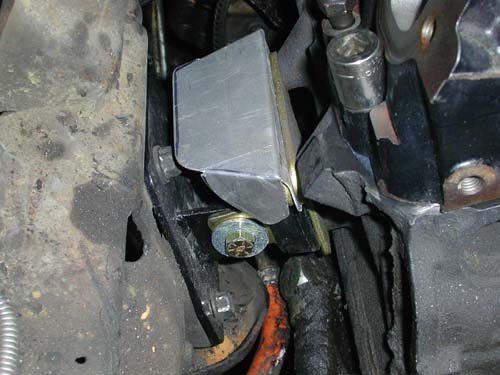
4. The frame mounts will have to be removed before the engine mounts can be tackled. The hard part to get to is the nuts on backside. Why GM didn't weld on nuts, I have no Idea.
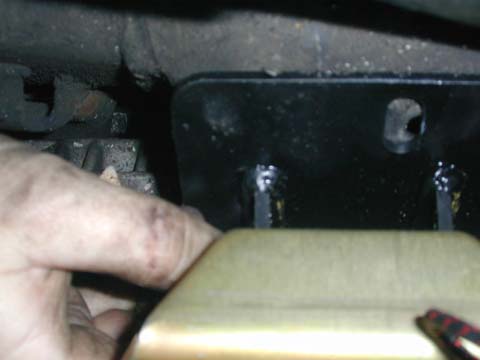
If you lay on your back, directly under transmission pan, and look forward carefully you will see the 3 nuts holding the passenger side frame pad on. With the tools above (mostly plain wrench), you can get onto the nuts. Have a buddy from the topside, use the racheting box end wrench and remove the bolt. After several choice words (todd can help if you run out) you will have all 3 bolts out. Time for stage 2, the drivers side.
5. The viewing angle of choice here is head under radiator, looking back. Same type operation, you under truck with wrenches and choice words, your buddy ducked under wheel well removing bolts with rachet.
Additional tip: I just did another set, and found by myself, I could reach from the top, with a standard wrench to all the nuts. I had to remove the bottom front nut first to get to the others.
I also had to remove the vent hose from the front diff. Once wrench was on nut, I used an air rachet to spin the bolts, took me all of 5 min, once I figured out how to get wrench in.

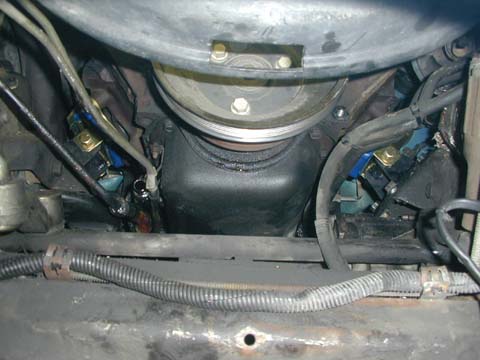
6. Jack the motor up and you can carefully slide the frame mounts out. (You have completed what we found to be the hardest part)
7. With 3/8" rachet, 1" extension, 15mm socket, take out the 3 bolts holding what is probably a broken motor mount. Engine should be held up from underneath by Floor jack by this time.
8. With old out, go get a nice refreshement and record all those new choice words you invented. They may become handy later on in syty life, but luckly you won't need as many for motor mounts from here.
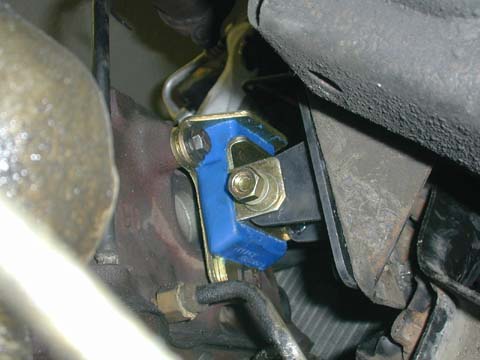
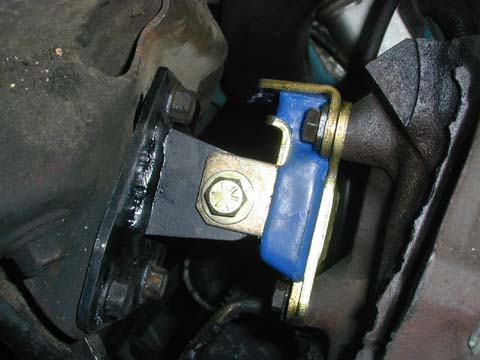
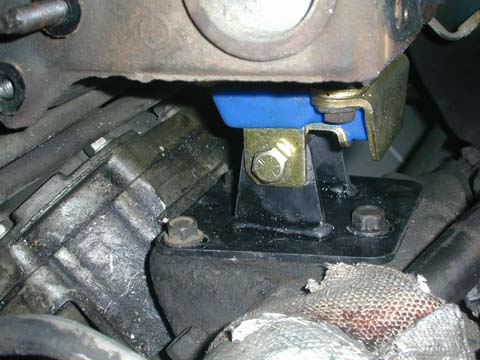
9. Bolt the new polyurethane mounts to engine. We used some loctite for safe keeping. It is probably a good idea to reuse the heat shields if they survived, buy new ones, or make something. We left them off in pictures for ease of viewing.
10. Slide the new frame pads into position. I didn't have much trouble at all getting them in. Kindof like a simple puzzle. By now you should be familiar with the scenery, know the good viewing angles, and possibly need that list of choice words. Todd and myself found it easier for the guy above to direct the guy below what way to move nut, (UP, DOWN, BACK..too far ^%@^..) then have them get the bolt started for first few threads. Tighten all 6. Hopefully the 12 pack isn't gone yet...
11. With engine still lifted up, install the ES mounts. Slowly ease the motor back down. On my truck the drivers side looked to be 1/2" off front to back.(my frame was bent at 1 time, so wasn't suprise), I was able to loosen the rear tranny bolts, and slide engine forward, just enough that both sides slide down with just a little effort. It helped, atleast in my case, to let it slide down on both mounts at same time, not 1 at a time. On todd's typhoon we found his tranny was all the way back, and we had to loosen the tranny mount and slide engine forward 1/4". We ended up with the tranny mount bolts in the center when we were done.
12. Now install the 7/16" bolts. It may be helpful to grind a point to the bolts supplied, to help get things lined up. I also found screw drivers a very good prying tool, to ease things in..
13. Tighten the 7/16" bolts, sit back, and enjoy the sight. And feel good you won't have to do that again. Atleast until your syty buddy asks for help.
You can reach me at jeff@nwstp.com
ICQ #25436277
AOL jws6367
Snail Mail